Making your own beaded charm bracelet is one of the most enjoyable and affordable DIY jewelry projects in 2026. Whether you’re looking for a creative hobby, a personalized fashion accessory, or a handmade gift for someone special, beaded charm bracelets offer endless possibilities. The growing popularity of personalized jewelry and handmade fashion has pushed beaded bracelets back into the spotlight, with colorful beads, meaningful charms, and stacked bracelet styles becoming major fashion trends this year.
Unlike store-bought jewelry, a handmade bracelet tells a story. Every bead, charm, and color choice reflects your personality. The best part? You don’t need expensive equipment or professional skills. With a few simple supplies and some creativity, you can create stunning bracelets right from your home.
Why Beaded Charm Bracelets Are Trending in 2026
Fashion trends often come and go, but personalized accessories never truly disappear. In 2026, beaded jewelry has become one of the most talked-about accessory trends across fashion magazines and social media. Designers are showcasing colorful beads, playful charms, and nostalgic jewelry pieces that combine creativity with self-expression. Modern consumers are moving away from mass-produced accessories and embracing handmade products that feel unique and meaningful.
Another reason for the popularity of beaded charm bracelets is affordability. Luxury jewelry can be expensive, but DIY bracelets allow anyone to create stylish accessories at a fraction of the cost. Personalized charm bracelets have also become popular gifts because they can represent hobbies, memories, initials, birthdays, and important life events. This emotional connection makes handmade bracelets much more special than ordinary accessories.
Rise of Personalized Jewelry
People want jewelry that reflects their identity. Instead of buying generic bracelets, they prefer accessories that tell a personal story. Initial charms, zodiac symbols, travel charms, and friendship-themed designs have become especially popular. Personalized jewelry allows wearers to express their individuality while creating emotional value.
DIY Fashion and Sustainable Accessories
DIY jewelry aligns perfectly with the growing movement toward sustainability. Creating your own bracelet reduces unnecessary consumption and encourages creative reuse of materials. Many crafters even repurpose old jewelry pieces and charms into new bracelet designs.
Materials Needed for a Beaded Charm Bracelet
Before starting your project, gather all necessary supplies. Having everything ready will make the process smoother and more enjoyable.
| Material🧱 | Purpose🎯 |
|---|---|
| Elastic Cord (0.8mm–1mm) | Main bracelet string |
| Glass Beads | Elegant appearance |
| Acrylic Beads | Lightweight and colorful |
| Letter Beads | Personalization |
| Metal Charms | Decorative elements |
| Scissors | Cutting cord |
| Measuring Tape | Wrist measurement |
| Crimp Beads | Secure bracelet ends |
| Jewelry Pliers | Finishing touches |
Quality materials significantly improve the final result. Many bracelet makers recommend using durable elastic cords and well-made beads because they enhance both appearance and longevity.
Essential Tools
The beauty of bracelet making is its simplicity. Unlike many crafts, it requires very few tools. A pair of scissors, measuring tape, and jewelry pliers are usually enough for beginners.
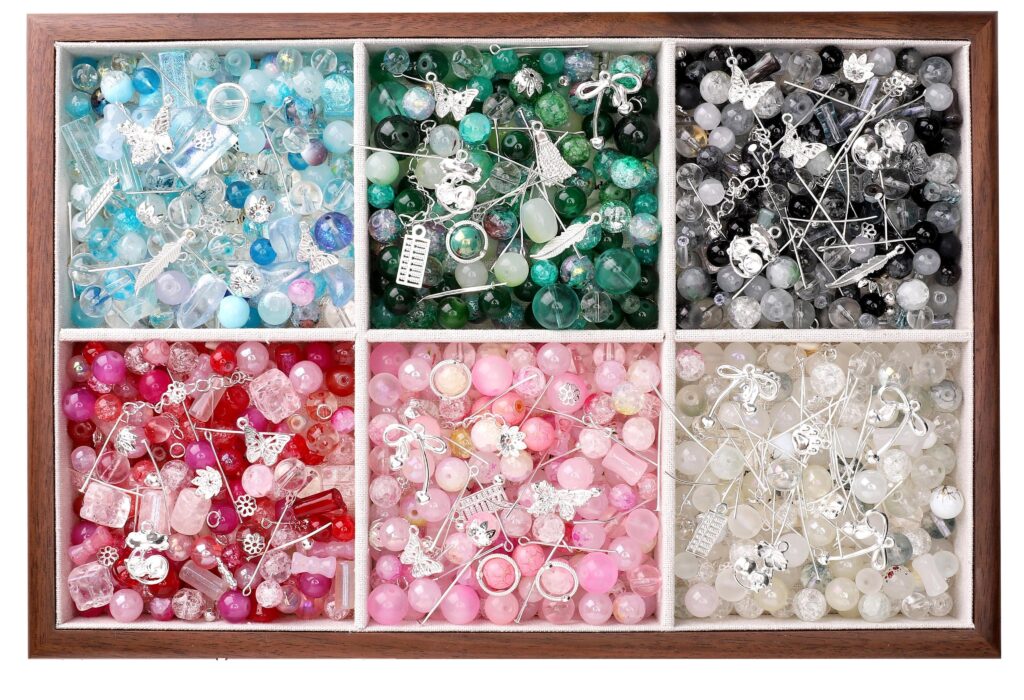
Recommended Beads and Charms
Popular bead options include:
- Glass beads
- Seed beads
- Pearl beads
- Wooden beads
- Natural stone beads
- Crystal beads
- Alphabet beads
Popular charm choices include:
- Hearts
- Butterflies
- Stars
- Initials
- Zodiac signs
- Flowers
- Travel symbols
Choosing the Perfect Bracelet Design
Creating a bracelet becomes easier when you decide on a design theme beforehand. Think of your bracelet as a small story wrapped around your wrist. Every bead and charm should contribute to that story.
Color Themes
Color selection influences the overall mood of your bracelet.
| Theme🎨 | Recommended Colors⭐ |
|---|---|
| Romantic | Pink, Rose Gold, White |
| Ocean | Blue, Turquoise, Silver |
| Nature | Green, Brown, Beige |
| Luxury | Black, Gold, White |
| Summer | Yellow, Orange, Coral |
Choosing a color palette before stringing beads helps create a balanced and professional-looking bracelet.
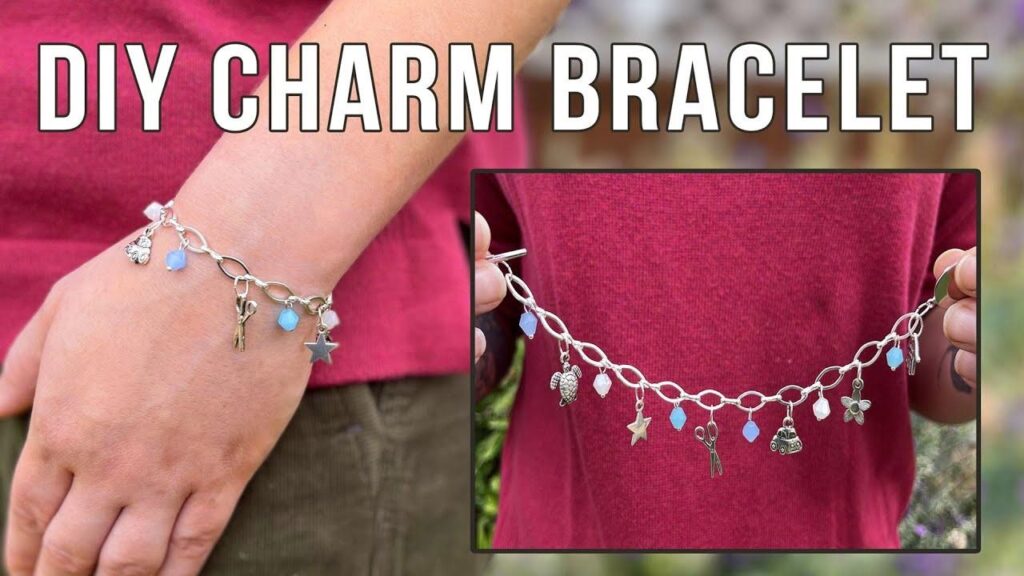
Popular Charm Ideas
Charm bracelets are all about meaning. Consider charms that represent:
- Your favorite hobby
- A memorable trip
- Your zodiac sign
- Friendship symbols
- Family connections
- Career achievements
Step-by-Step Guide to Making a Beaded Charm Bracelet
Step 1 – Measure Your Wrist
Wrap a measuring tape around your wrist. Add approximately half an inch to one inch for comfort. This measurement determines the length of your bracelet.
A bracelet that is too tight may break easily, while one that is too loose can feel uncomfortable. Accurate measurement is the foundation of a successful design.
Step 2 – Plan Your Design
Lay all beads and charms on a flat surface. Experiment with different arrangements before threading them onto the cord.
Many professional jewelry makers recommend arranging beads symmetrically. For example, if you place a charm in the center, use matching bead patterns on both sides.
Step 3 – Arrange the Beads
Create a visual sequence.
Example:
- 3 Pink Beads
- 1 Pearl
- 3 Pink Beads
- Heart Charm
- 3 Pink Beads
- 1 Pearl
- 3 Pink Beads
This planning stage helps avoid mistakes later.
Step 4 – Add Charms
Attach your selected charms at strategic points. Most beginners place one main charm in the center and smaller charms near the sides.
Current 2026 trends favor minimalist charm placement rather than overcrowding the bracelet with too many decorations.
Step 5 – String Everything Together
Carefully thread the beads and charms onto the elastic cord according to your design.
Work slowly and double-check the pattern as you go. This prevents accidental mistakes and keeps the design balanced.
Step 6 – Secure the Bracelet
Once all beads are threaded:
- Pull the cord tight.
- Tie a double knot.
- Add a drop of jewelry glue if available.
- Trim excess cord.
A secure knot is critical because it prevents the bracelet from falling apart during everyday wear.
Step 7 – Final Inspection
Examine your bracelet carefully.
Check:
- Bead alignment
- Knot security
- Charm placement
- Overall appearance
Make any necessary adjustments before wearing it.
Top Beaded Charm Bracelet Trends in 2026
Fashion trends in 2026 are heavily influenced by personalization and storytelling. Modern bracelet styles focus on meaningful details rather than excessive decoration.
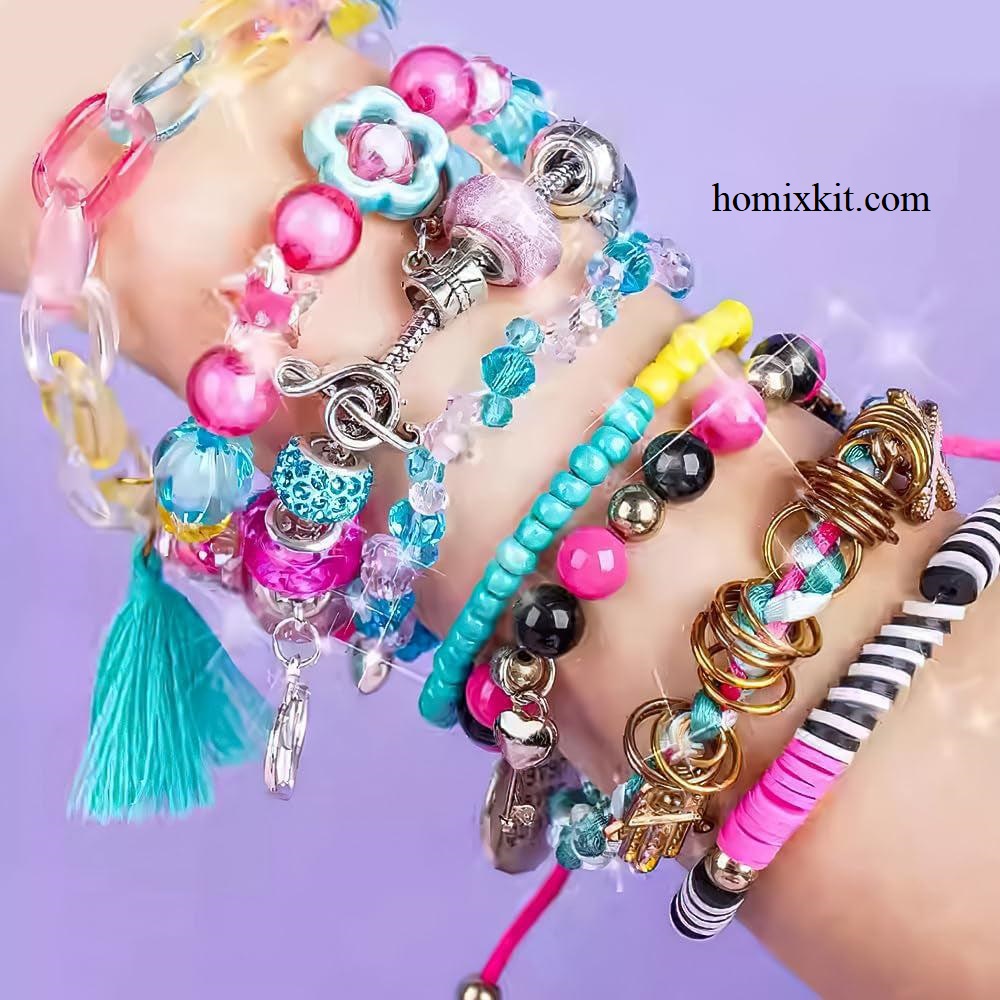
Stackable Bracelets
Stacking multiple bracelets remains one of the biggest jewelry trends this year. Many people wear three to five coordinating bracelets together to create a layered look.
Initial and Name Bracelets
Letter beads continue to dominate DIY jewelry projects. Personalized names, initials, and motivational words make bracelets more meaningful and gift-worthy.
Natural Stone Designs
Natural stone bracelets featuring amethyst, tiger’s eye, and turquoise have become increasingly popular because of their earthy appearance and unique textures.
Common Mistakes to Avoid
Many beginners encounter the same problems when making bracelets.
| Mistake⚠️ | Solution✅ |
|---|---|
| Weak Cord | Use quality elastic cord |
| Overcrowded Design | Keep spacing balanced |
| Loose Knots | Tie multiple secure knots |
| Poor Color Matching | Plan colors beforehand |
| Incorrect Sizing | Measure wrist accurately |
Avoiding these mistakes can dramatically improve the quality of your finished bracelet.
How to Maintain Your Handmade Bracelet
A handmade bracelet can last for years with proper care. Avoid exposing it to water, perfume, lotions, and harsh chemicals. Store it in a jewelry box or soft pouch when not in use.
Cleaning should be gentle. Use a soft cloth to remove dust and fingerprints. If your bracelet contains metal charms, polishing them occasionally helps maintain their shine.
Regular inspection of knots and elastic cords also helps prevent unexpected breakage.
Can You Sell DIY Beaded Bracelets Online?
Absolutely. Many crafters have turned bracelet making into profitable small businesses. Platforms like handmade marketplaces and social media stores make it easier than ever to reach customers.
Successful sellers often focus on:
- Personalized designs
- Seasonal collections
- Friendship bracelets
- Initial bracelets
- Birthstone bracelets
Adding professional photography, attractive packaging, and excellent customer service can significantly increase sales potential.
Conclusion
Making a beaded charm bracelet at home in 2026 is an enjoyable project that combines creativity, fashion, and personalization. With a few basic materials and a little patience, anyone can create beautiful bracelets that reflect their unique style. Whether you want a colorful summer accessory, a meaningful friendship gift, or a personalized fashion statement, DIY bracelet making offers endless possibilities.
The growing popularity of beaded jewelry and charm bracelets proves that people still value accessories with personality and meaning. By following the step-by-step process outlined in this guide, you’ll be able to create stunning handmade bracelets that look professional while carrying a personal story only you can tell.
FAQs
1. What type of cord is best for beaded charm bracelets?
Elastic cord between 0.8mm and 1mm is ideal because it is durable, flexible, and easy for beginners to use.
2. How many beads do I need for one bracelet?
Most adult bracelets require between 20 and 40 beads depending on bead size and wrist measurement.
3. Can beginners make a charm bracelet?
Yes. Beaded charm bracelets are among the easiest jewelry projects and require minimal tools and experience.
4. What are the most popular bracelet colors in 2026?
Pastel colors, ocean-inspired blues, natural earth tones, and gold-accented designs are trending this year.
5. How long does it take to make a bracelet?
A simple beaded charm bracelet can usually be completed within 15–30 minutes, depending on design complexity.


Pingback: Why Beads Bracelet Kits Are Everyone’s Favorite in 2026 (Ultimate Guide)
Pingback: Top 10 Easy DIY Beaded Charm Bracelets You Can Make at Home in 2026